Text Parallax with Framer Motion
Implementation of a scrolling parallax text using Framer Motion and React.
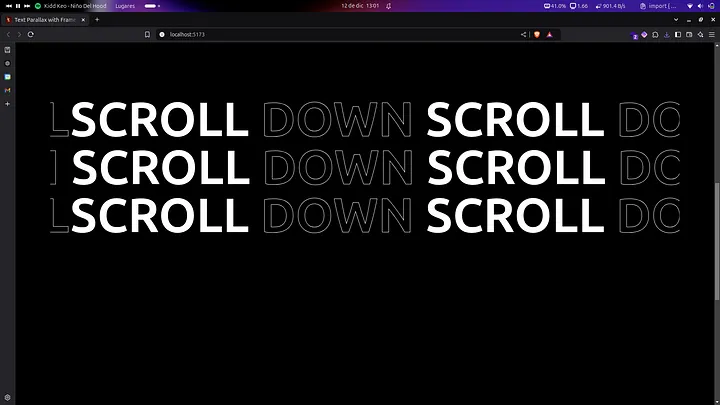
In my personal portfolio, I have implemented text blocks with an attractive parallax effect that scroll. Although it may seem like a complex functionality, the process is simpler than you might think thanks to the right tools. To achieve this, I used Framer Motion, and a little bit of TailwindCSS.
We just need to create the project and install the necessary dependencies. In my case, I used Vite to simplify and speed up the development:
╰─ npm create vite@latest
... # Add the Project name & Select React
╰─ npm install -D tailwindcss postcss autoprefixer
╰─ npx tailwindcss init -p
╰─ npm install framer-motion
We set up the tailwind.config.js file, clean up the vite template, and ... Let's get to work!
To begin, we configure the tailwind.config.js file and perform a cleanup on the Vite template. Once this configuration is complete, it's time to get to work!
To save time, when setting up the styles file (such as index.css or input.css), include the following block of code to add an aesthetic touch to the text using a utility layer:
@tailwind base;
@tailwind components;
@tailwind utilities;

@layer utilities {
    .text-stroke {
        -webkit-text-stroke: 1px white;
    }
}
This utility creates the outer border of the text.
To start with the page structure, we use the following basic React code. In this case, we divide the page into sections to be able to apply a scroll effect depending on the scroll:
In addition, we reference the section to use it as a target for the scroll and create the animation constants:
import { useScroll, useTransform } from "framer-motion";
import { useRef } from 'react';

function App() {

    const sectionRef = useRef(null);

    const { scrollYProgress } = useScroll({
        target: sectionRef,
        offset: \["start end", "end start"\],
    });

    const translateX = \[
        useTransform(scrollYProgress, \[0, 1\], \["0%", "20%"\]),
        useTransform(scrollYProgress, \[0, 1\], \["0%", "-20%"\]),
        useTransform(scrollYProgress, \[0, 1\], \["0%", "20%"\]),
    \];

    return (
        <>

            <div className="h-screen"></div>

            <main>

                <section className="min-h-screen flex items-center justify-center" ref={sectionRef}>
                    <div className="mx-auto w-\[90%\]">

                    </div>
                </section>

            </main>

            <div className="h-screen"></div>

        </>
    )
}

export default App
These components will define the styles of the text:
@layer components {

    .text-style {
        @apply relative leading-none text-white uppercase font-sans font-bold text-\[4rem\] sm:text-\[6rem\] lg:text-\[8rem\] text-nowrap
    }

    .text-stroke-style {
        @apply text-black text-stroke font-sans
    }

}
This component would look something like this:
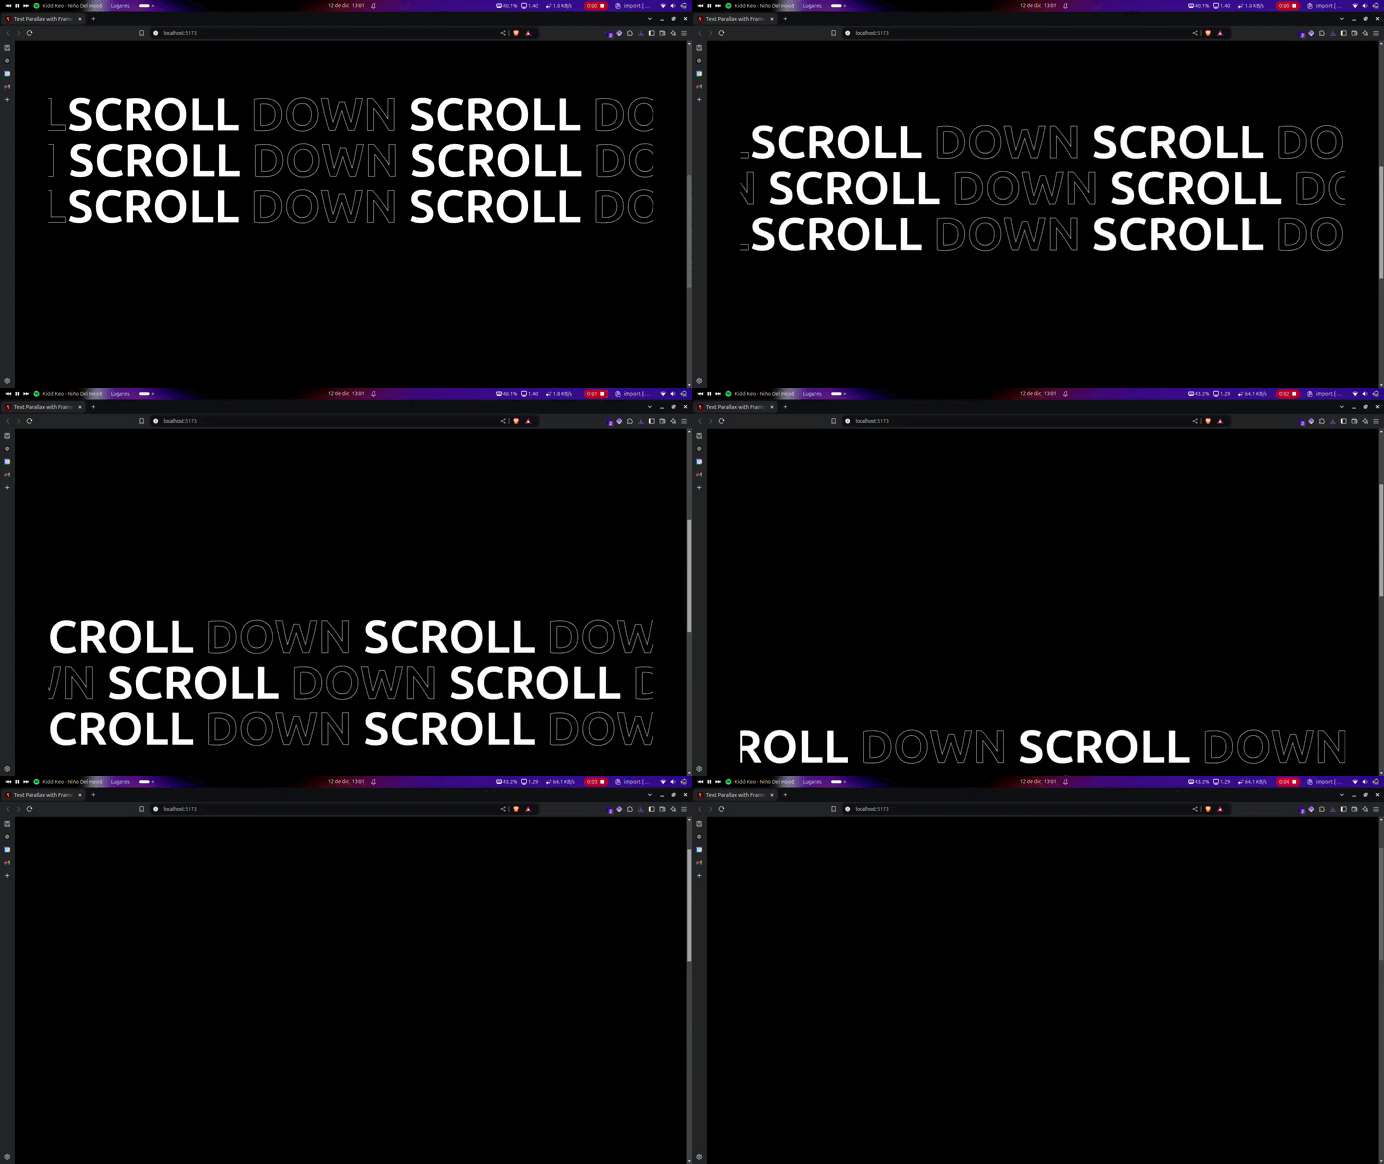
Finally we will map the tranlateX to create a motion.h1 for each useTransform, which would leave the page like this:
import { motion, useScroll, useTransform } from "framer-motion";
import { useRef } from 'react';

function App() {

    const sectionRef = useRef(null);

    const { scrollYProgress } = useScroll({
        target: sectionRef,
        offset: \["start end", "end start"\],
    });

    const translateX = \[
        useTransform(scrollYProgress, \[0, 1\], \["0%", "20%"\]),
        useTransform(scrollYProgress, \[0, 1\], \["0%", "-20%"\]),
        useTransform(scrollYProgress, \[0, 1\], \["0%", "20%"\]),
    \];

    const scrollText = (
        <>
            Scroll <span className="text-stroke-style">Down</span> Scroll <span className="text-stroke-style">Down</span> Scroll <span className="text-stroke-style">Down</span>
        </>
    );

    return (
        <>

            <div className="h-screen"></div>

            <main>

                <section className="min-h-screen flex items-center justify-center" ref={sectionRef}>
                    <div className="mx-auto w-\[90%\]">

                        {translateX.map((translate, index) => (
                            <div key={index} className="select-none overflow-hidden flex justify-center">
                                <motion.h1 style={{ x: translate }} className='text-style'>
                                    {index % 2 === 0 ? <span className="text-stroke-style">Scroll</span> : null}
                                    {scrollText}
                                </motion.h1>
                            </div>
                        ))}

                    </div>
                </section>

            </main>

            <div className="h-screen"></div>

        </>
    )
}

export default App
Finally, this is the result:
<3 Carlos